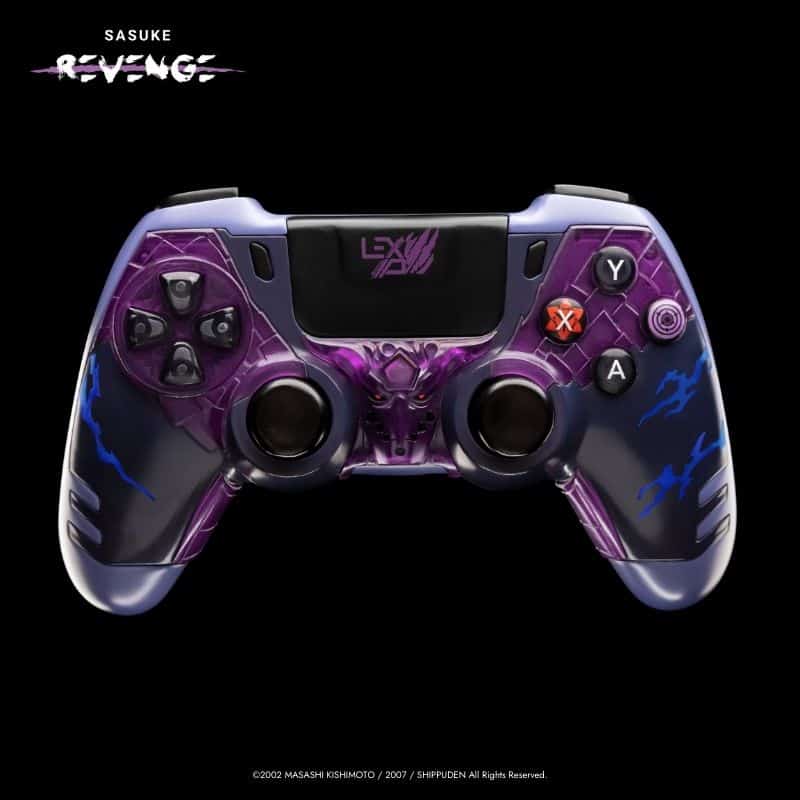
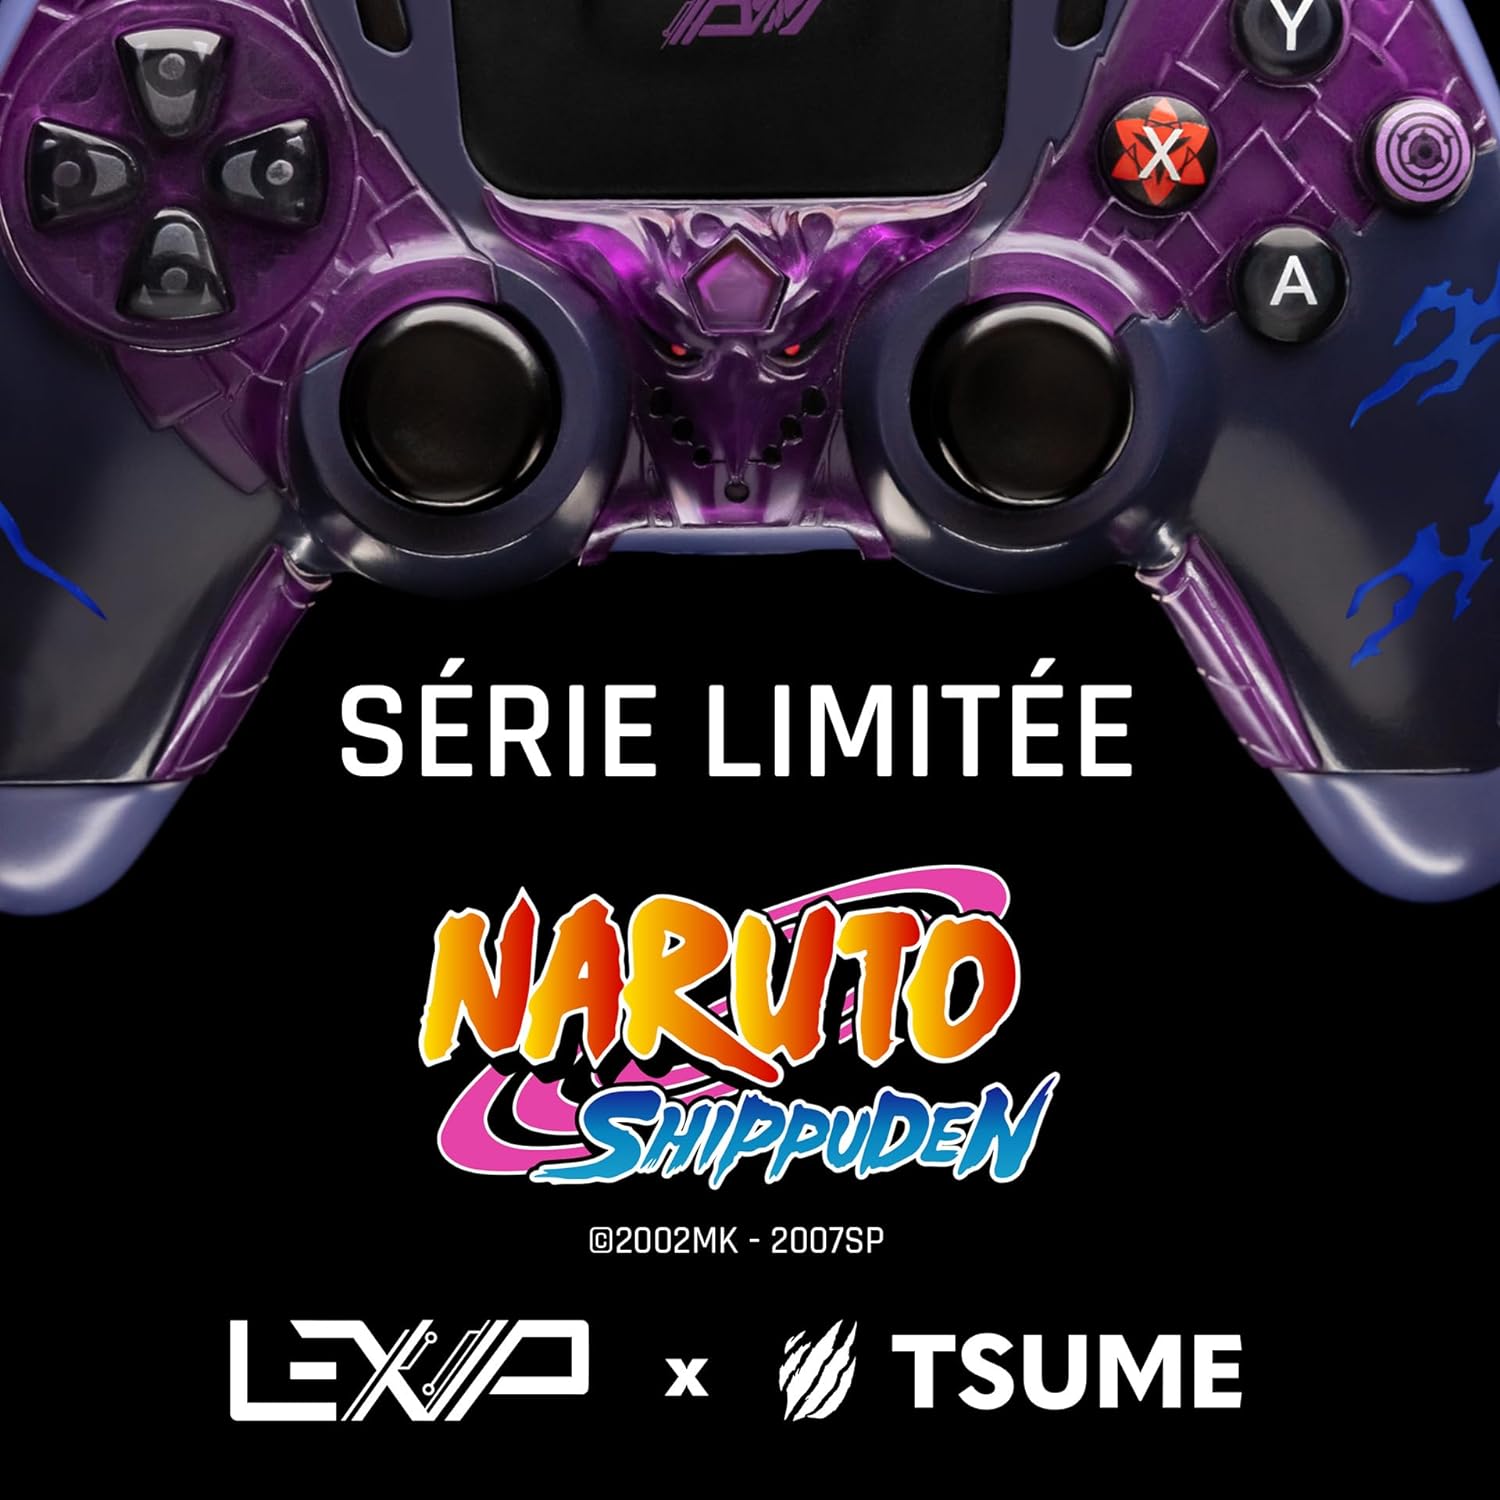
Bring to life the power that changed history with the controller by Lexip x Tsume.
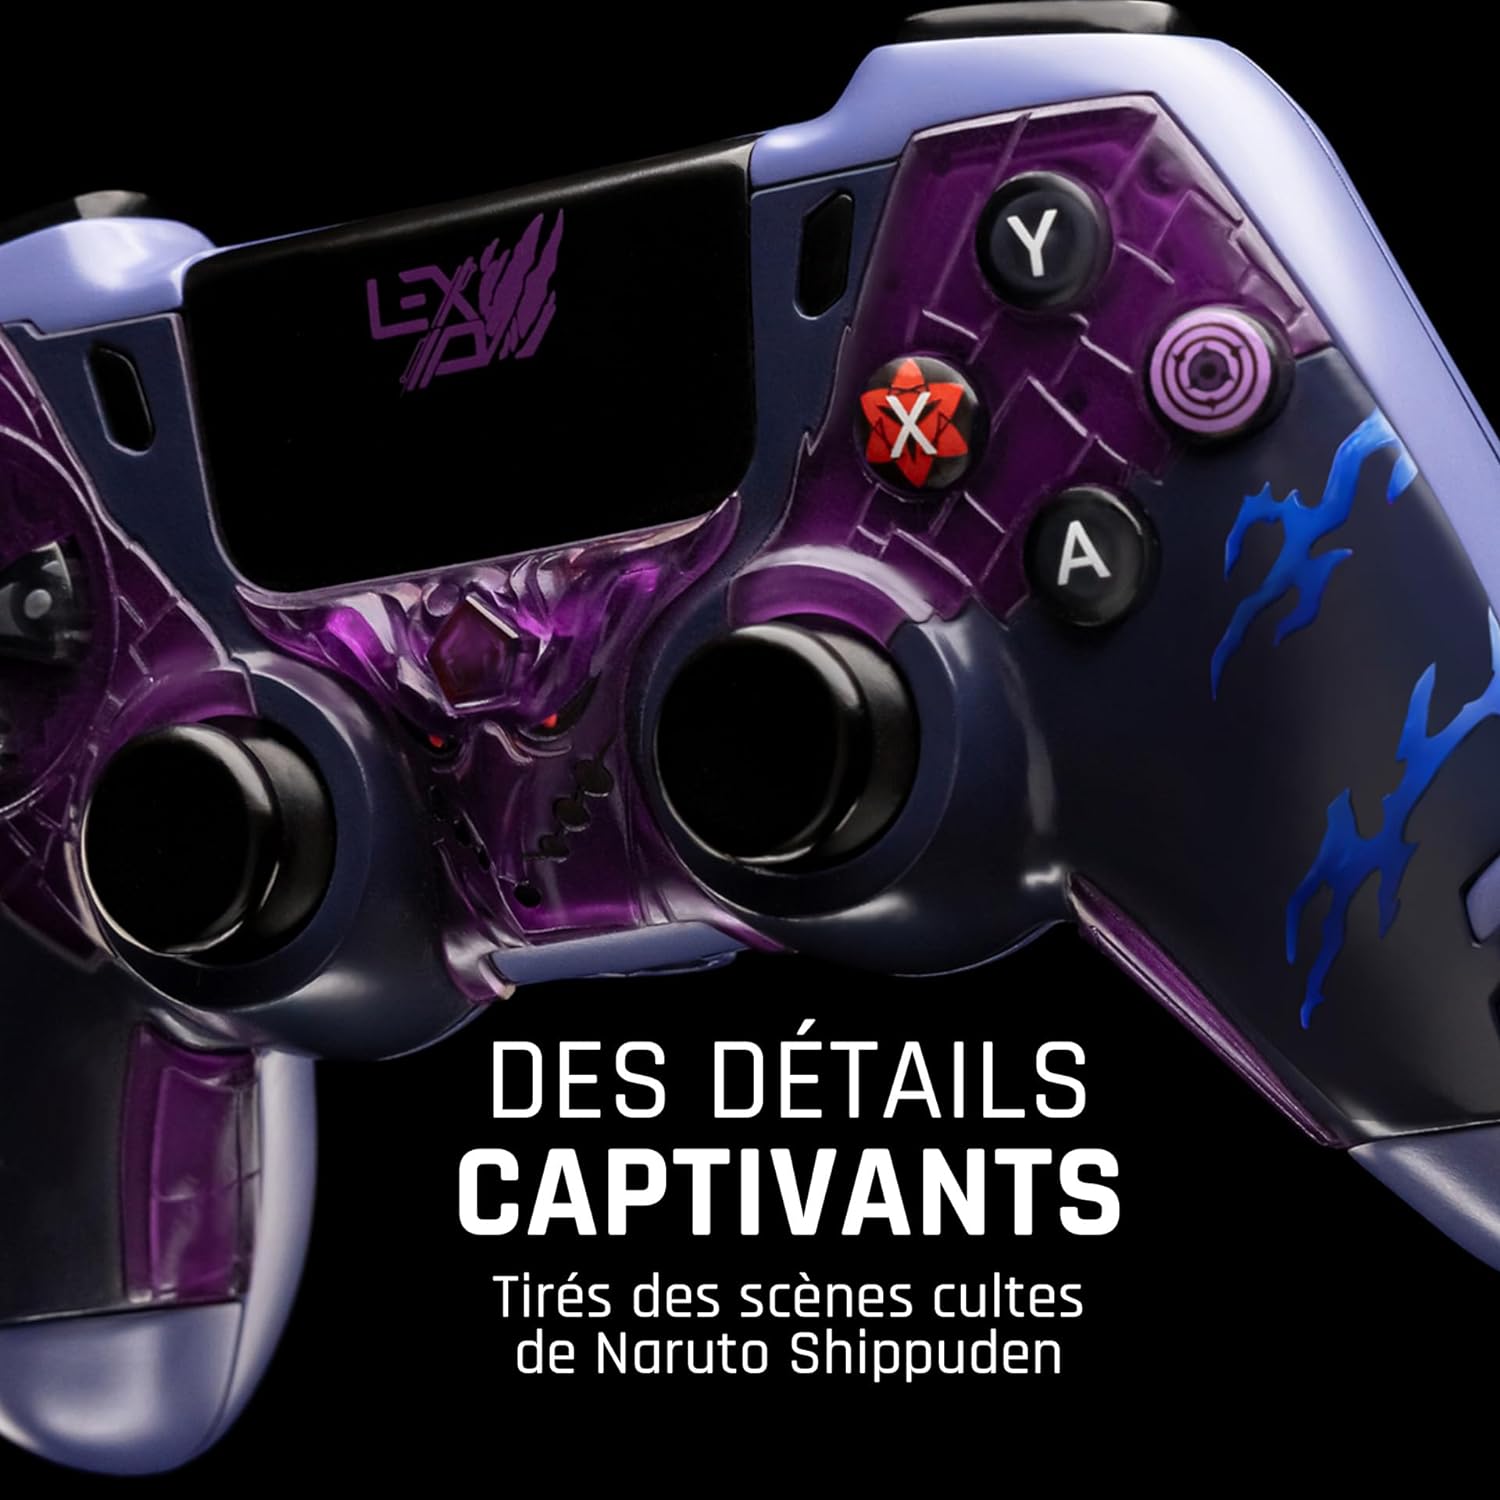
Rediscover the key element of this iconic scene, embodied in an ultra-detailed sculpture extending across the entire front of the controller.
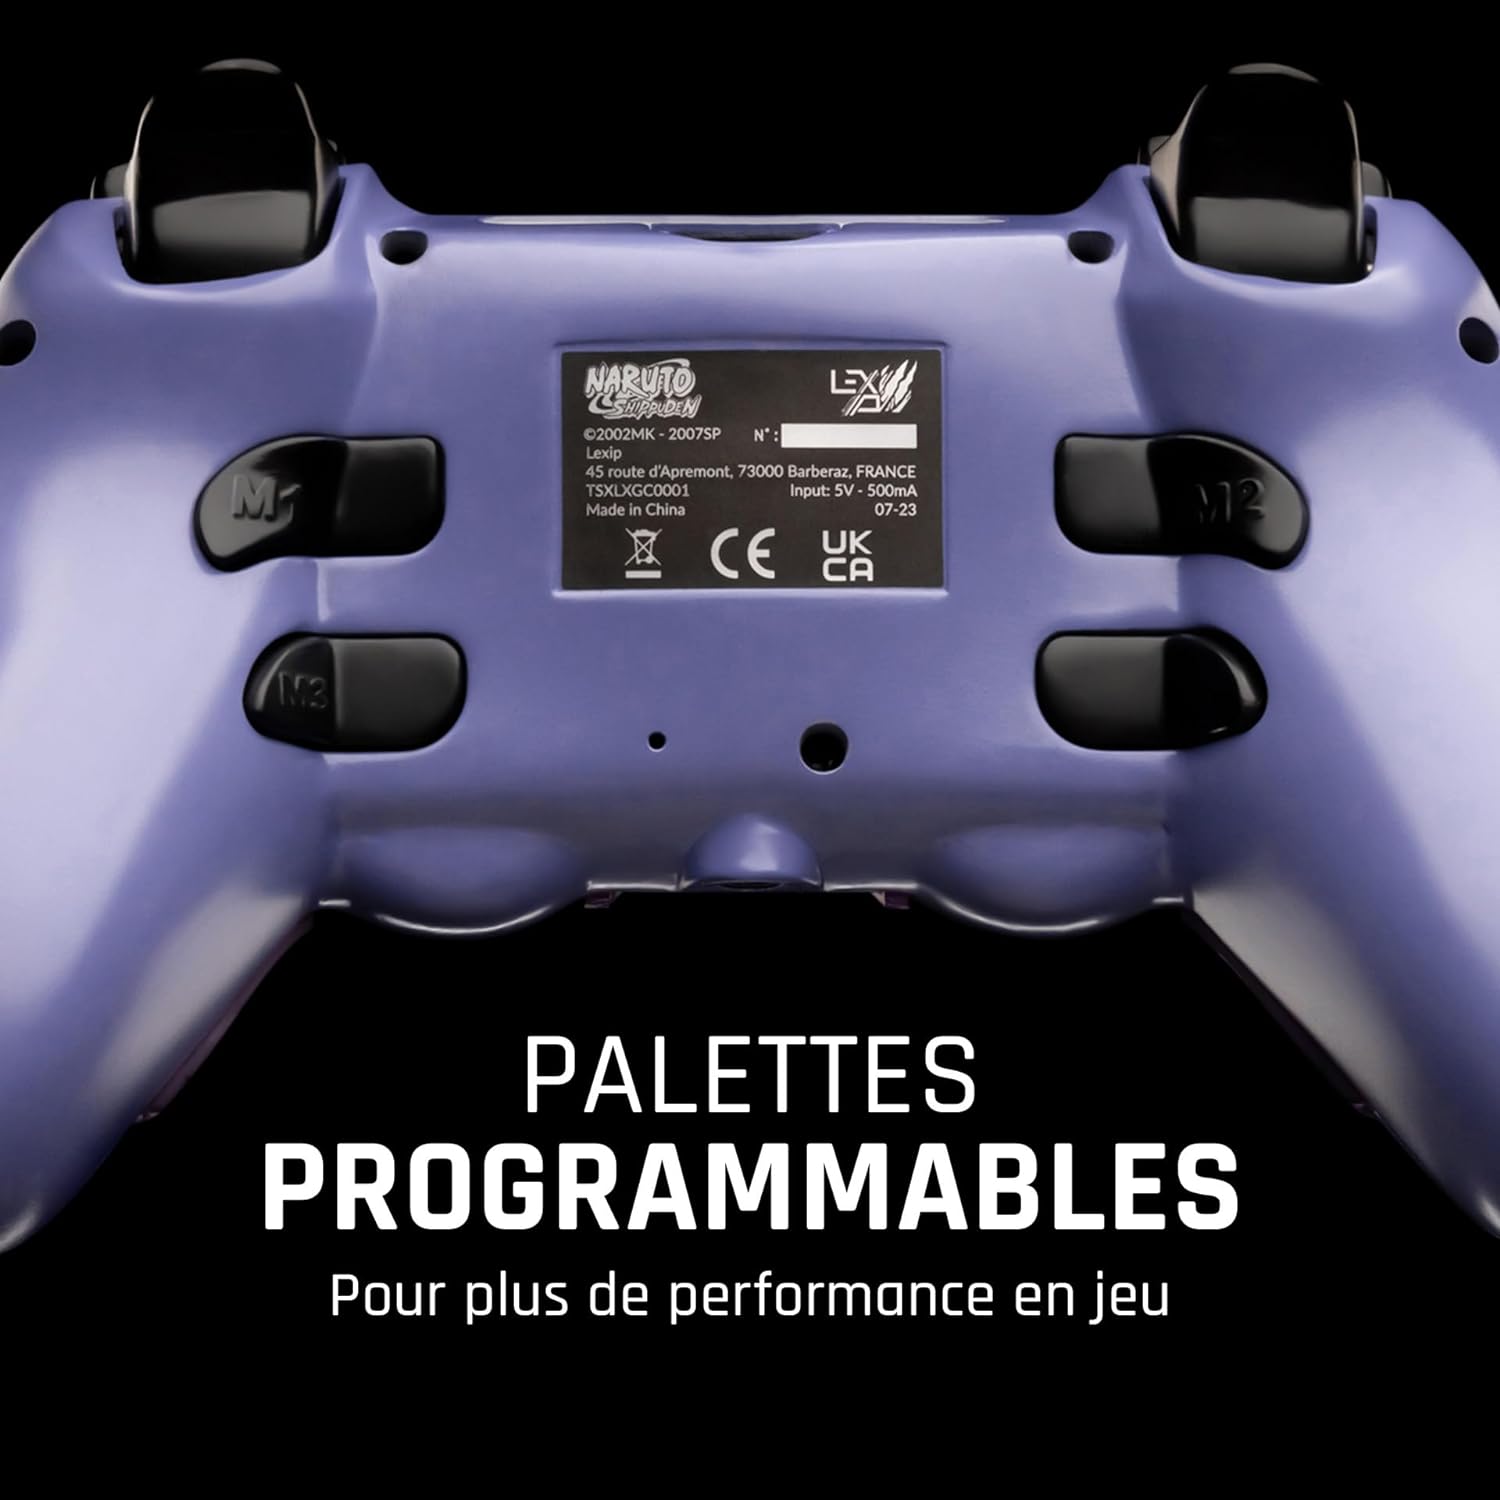
The ergonomics of the Lexip x Tsume controllers have been recognized as "the best in the industry" by the German Design Awards, easy to use for both large and small hands and incorporating additional programmable paddles on the back.
Contents: Controller, Certificate of Authenticity, Designer's Note, 1-meter Charging Cable, 2.4GHz USB Receiver, Documentation
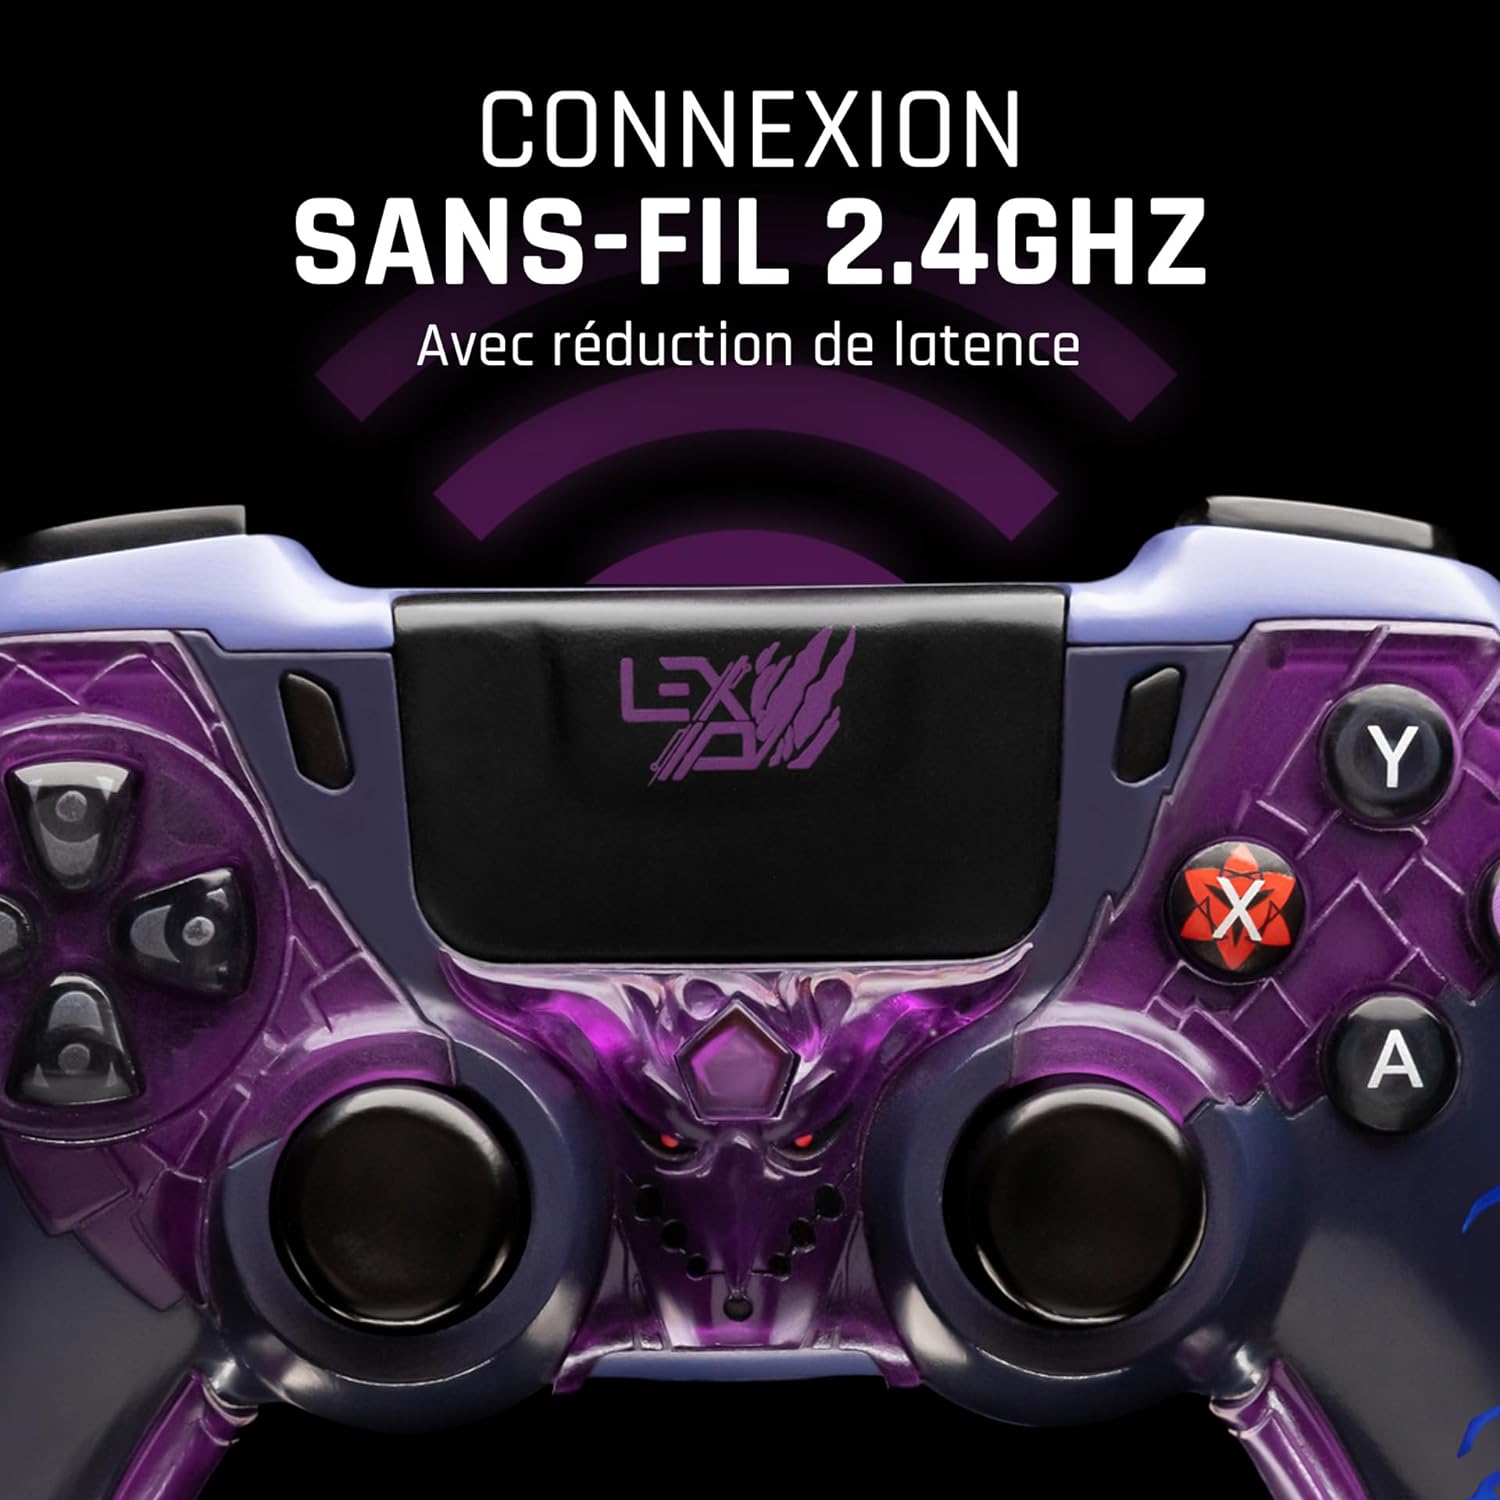
Wireless with 4 programmable paddles, PC/SWITCH™ compatible
If you have any questions, you are always welcome to contact us. We'll get back to you as soon as possible, within 24 hours on weekends.
Shipping Information
Use this text to answer questions in as much detail as possible for your customers.
Customer Support
Use this text to answer questions in as much detail as possible for your customers.
FAQ's
Use this text to answer questions in as much detail as possible for your customers.
Contact Us
Use this text to answer questions in as much detail as possible for your customers.
Example
desc
Additional information
Connecting the controller to a PC
Plug the receiver into your PC's USB port. The LED at its end will start flashing slowly.
Turn on the controller using the center button. The LED bar will blink slowly.
When the receiver and controller synchronize, their LEDs remain lit.
Connecting the controller to a docked Switch™ console
Connect the console to its dock.
Connect the receiver to one of the USB ports on the side of the dock.
The receiver will flash rapidly in sync mode.
Turn on the controller using the center button. Keep it pressed until the controller enters pairing mode. After a few seconds, the controller's LEDs will remain lit: your controller is connected.
Please note that:
- Buttons A and B, X and Y are swapped: A replaces B, B replaces A etc.
- Motion detection is not implemented in the controller: no consideration of jolts etc.
- The jack output also counts as a microphone input: if you connect a headset to it, applications that support USB microphones will see it as one of them.
- The "screenshot" button is missing. Games that require this feature are therefore not compatible.
Compatibility
Windows 10/11 PC with USB Type A port.
Nintendo Switch™ or Switch™ OLED with dock (Switch™ Lite requires an adapter, not included)